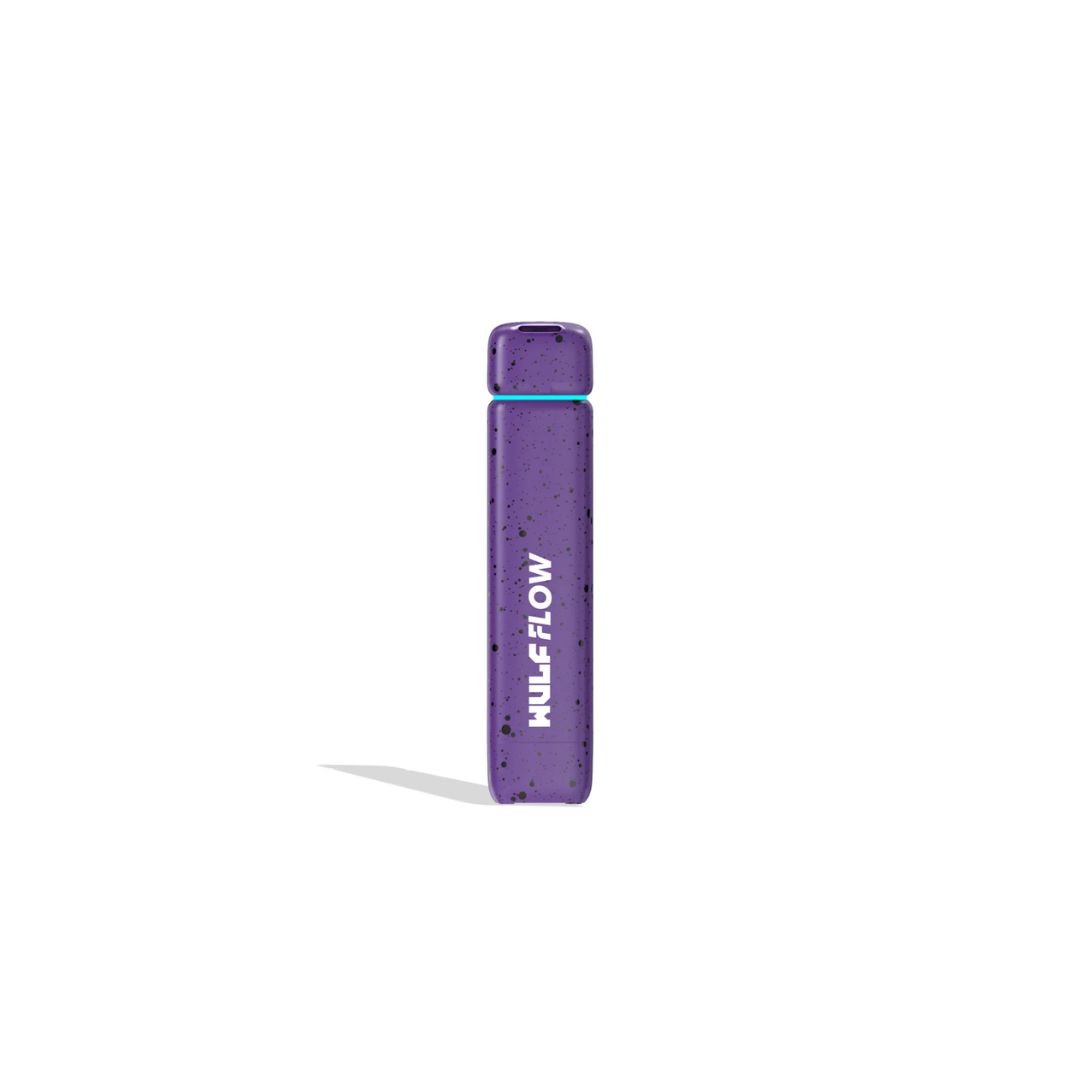
Wulf Flow 510 Battery
Loading A Cartridge Into The Flow
To begin vaping with your Flow, you must first head into your collection of 510 threaded cartridges and choose one to get started with! From there remove the bottom of your Flow and gently attach the cartridge via the 510 threaded connection port. Once on, carefully replace the bottom of your Flow and prepare for vapor fun!
Using Your Flow
To turn on your Flow Auto Flow 510 Voltage Battery press the power button located on the bottom of the device 5x in a row. When input successfully, your Flow will shine its LED to let you know that you are good to go. After your session concludes, turn off your Flow by repeating the process and pressing your power button 5x in a row.
Using Your Flow In Auto Draw Mode
To use your Flow in auto draw mode, simply make sure that the cap is flipped down and then inhale from the mouthpiece. As the Flow is auto draw activated, all you have to do is draw and it will instantly provide you with some clouds. When you're done, just stop inhaling and the Flow will go back to stand by mode until you hit it again.
Using Your Flow In Auto Flow Mode
To use your Flow in auto flow mode, all you have to do is flip the mouthpiece up to reveal the Flow’s nozzle and it will immediately begin emitting vapor for a flow of milky vapor. The Flow will flow vapor for 10s before stopping. To set up another round simply gently close the Flow’s mouthpiece and then open it up again to start the 10s vapor flow once more.
Adjusting The Flow’s Temperature
To switch between the 5 different temperature settings on the Flow, press the power button on the bottom of the device 1x, this will cycle the voltage to the next level in line. To make viewing your voltage easy, each of the 5 temperature settings has a corresponding LED color, yellow - 1.8v, purple 2.4v, green - 2.8v, blue - 3.4v, and red 3.8v.

